Sunday, November 28, 2010

Winter Squash and Black Rice


Squash went crazy in Seattle this fall. I'm sure that's always been the case (there's not a whole lot of cold-weather produce to promote), but for some reason it really caught my attention this year: Flats full of acorns and family every time I pass the QFC to and from the bus. Butternut squash soup on every Restaurant Week menu. Squash cooking tips at the pumpkin patch.


My first seasonal attempt began with a butternut dish for my dinner-party-turned-pot-luck. I was originally going for the squash, lentil, goat cheese salad; however I couldn't find black lentils at the store and was running too late to look elsewhere. The green and brown just didn't have that festive feeling, so lentils became black rice, and the goat cheese just got forgotten completely. So...


Butternut and Black Rice Salad (adapted from Smitten Kitchen):

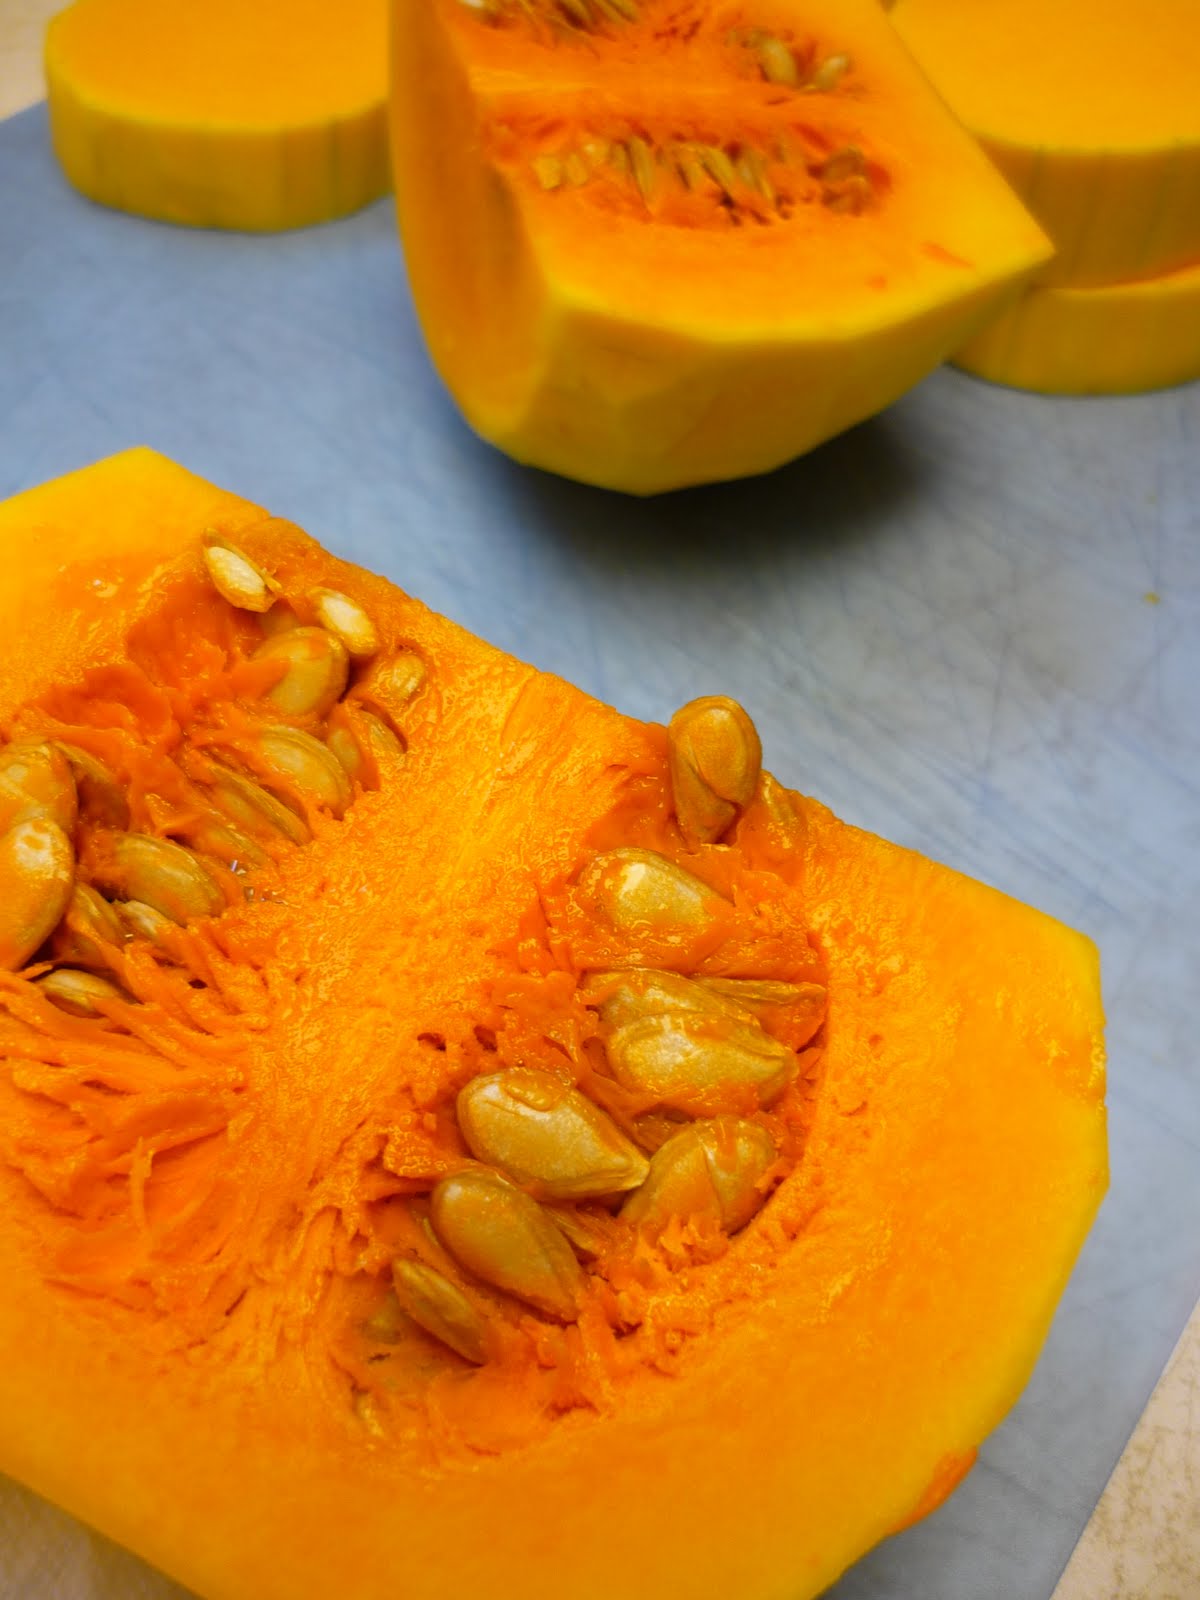
- 1 large butternut squash, peeled, cubed and seeded (save the seeds)
- 3 tbsp. olive oil
- 1 tsp. ground cumin
- 1 tsp. sweet Spanish paprika
- 1/4 tsp. Cayenne pepper
- 1/2 tsp. Cinnamon
- 1/2 tsp. salt

Preheat oven to 400 degrees. Toss squash cubes in a bowl with olive oil, cumin, paprika, cayenne, cinnamon, and salt.


Begin boiling water for the rice (following rice-cooking instructions on package, the whole process will probably take approx 50 minutes... do while preparing the squash).

Rinse and dry the squash seeds. Toss on a baking sheet with a little oil and coarse salt and put in oven. Pay attention to popping sounds or burning smells and check frequently, stirring occasionally. Toasting should take about 10 minutes.


When oven is fully heated, spread squash cubes in glass baking dishes or baking sheets and roast in oven for about 20 minutes. Remove, flip the cubes, and roast for another 20 minutes or until browning on top and soft inside.

Remove and combine squash, rice, and toasted seeds. Drizzle with any remaining oil cooked together with squash and sprinkle with extra coarse salt if desired. Add goat cheese if desired (remembered):

Honey-Cheddar Corn Muffins....

THE RECIPE!

- 1 1/2 cups cornmeal
- 1/2 cup flour
- 1/2 tsp. salt
- 1/4 tsp. pepper
- 1 1/2 tsp. baking powder
- 1/2 tsp. baking soda

- 2 cups fresh corn kernels
- 1 large egg
- 1 cup buttermilk
- 6 tbsp. butter (melted) or oil (I did 3 of each)
- 6 tbsp. honey
- 2 cups coarsely grated cheddar cheese


Preheat Oven to 400 degrees. Grease muffin tins.

Combine all dry ingredients (cornmeal, flour, salt, pepper, baking soda &powder) and whisk together in a large bowl.

Use a food processor or other blending utensil to puree 1 cup of the corn. Combine pureed corn with oil, butter, buttermilk, honey, and egg. Whisk together. Add to dry ingredients and stir until almost combined. Fold in grated cheese (except 1/4 cup) and remaining corn kernels.

Spoon into muffin tins and top with remaining cheese. Bake for 20 minutes. If tops are not browned, increase heat to 500 and bake for another 5 minutes.

Remove, cool, and serve with honey.

Thursday, October 14, 2010

Honey-Cheddar Corn Muffins

A picture is worth a thousand words...? Or, hopefully, at least worth my limited grad school hours. Here's the picture-book of these muffins:


Tuesday, September 14, 2010

Sweet Heirloom Sauce

Summer's hanging on by a thread.

I wore a skirt today and walked home from class but never took of my jacket. You can almost feel the anticipation brewing for wool sweaters and crisp leaves. I've also been fighting off my first cold of the season (new Seattle germs...) and leaning towards warm comfort foods. Grilled cheese is always a good one, but a batch of cheap cheap heirloom tomatoes a the Queen Anne farmers' market got me excited about sauce.


Warm and deliciously fresh sauce. Sweet sauce. I've added a small dash of sugar to the past few tomato sauces I've stewed up, to appease Steve's sweet tooth, and they always taste amazing. But this time I wanted to see if I could achieve the same effect in a different way: ripe heirlooms (sweet), fresh basil from my new housewarming herb-garden (sweet-ish), and removing the seeds (bitter-ish when cooked).


Ingredients:

- 3 to 4 large heirloom tomatoes
- 5 to 6 fresh basil leaves
- 2 tbsp. olive oil
- salt and pepper
- dash or sweet paprika (optional)

Slice the tomatoes and remove the seeds. For really ripe heirlooms, the flesh is so dense that there will be very few seeds to remove, as compared with roma or hothouse.


Dice roughly, cover and simmer with olive oil, salt and pepper for about 5 minutes. Remove lid and continue to simmer for another 15 minutes, or until sauce starts to thicken. At this point, you can blend or food-process, or let the chunks live.


Chop the basil and stir in with paprika.


Assemble with optional accouterments (sauteed broccoli and feta!)


The results? Perfectly yummy and comforting, but no comparison to the spoonful of sugar for sweet-tooth satisfaction.

Monday, September 6, 2010

Stone Fruit Summer Pie


As the weather turns dreary up north, I'm reflecting back on this past summer and thinking: "Man, I made a lot of pies!"


Well, sure, I actually only made two. And, yeah, it was really only because I got the fruit for free (Closing time at the farmers market, in the ugly section). But still, two pies feels like a lot when I'm generally not a big fan of either making or eating them-- I'll pick a crisp or crumble over a pie any day.

It's not that I have a problem with fruit (or pumpkin or pecan, if you prefer); it's just the crust that bugs me. It's finicky to make and work with, and then when all is said and done, I've never found it to do much flavor-wise. It's either dry or soggy (mostly dry and bland), and it gets in the way of my un-adulterated enjoyment of the filling.

But that's all changed, now that I have Dori in my life! I used her sweet tart dough with nuts in Ali's birthday tart, and it worked so well that I'm never going to try anything else ever again. It tastes unbelievably yummy, and it's so buttery-soft and easy to work with that you can turn a crust disaster into perfection in less than 30 seconds:


I used fresh cherries, pitted by hand (yeah, that sucked), and an assortment of white and yellow peaches and nectarines. The white ones are incredibly sweet, but I think yellows give more flavor when baked.


To prevent sogginess, I mixed up a small bowl with 1 part flour, 2 parts oats, and 2 parts brown sugar and scattered a thin layer on the unbaked crust before adding the fruit.


Drain the juices from the fruit (set aside in a small bowl), and assemble pie. No sugar or sweetener necessary when you have such ripe produce... just toss together and dump into the crust.

For finishing touches, I added some butter to the oat/sugar mix and sprinkled on top of the fruit (sneaking in some crisp and crumble bits), and I brushed some of the reserved fruit juice around the remaining exposed crust. Bake on 375 for about 40-50 minutes or until crust is golden brown.


And say yes to leftovers!

Friday, August 27, 2010

Eggplant Parm Pizza


I'll be honest: I'm not crazy about eggplant.

I don't like how it (and mushrooms) try to replace sliced meats in vegetarian sandwiches. They always absorb all of the oil out of my stir-fry and Thai dishes, ending up too greasy without leaving any saucy-flavor for the rest of the veggies to enjoy. Nope, don't like eggplant at all.... EXCEPT in Italian restaurants where it is smothered with tomatoes and cheese, in which case I still don't like it- I love it.


Now I'm not sure about the Seattle markets (yet), but at the farmer's market in SF Civic Center the perfect time to shop is 3:45pm. At 3:30, vendors begin to throw bushels of produce into plastic bags and sell them for a dollar, and at 4:00 they begin to pack up and leave. And voila': $2 pizza toppings!


I salted the eggplant slices and pre-cooked them on a grill-pan over the stove for some nice char marks. (I've found that it's helpful to stove cook fresh produce like bell peppers, zucchini and eggplant prior to putting them on pizza because they take a little longer to soften up.) The tomatoes become a sauce without too much effort: wash; dice; simmer with olive oil, bay leaf, salt and pepper.


And then the easy part: toppings. Spread some mozzarella (I used to try freezing and grating it, but what's the point? Thin slices melt just as well). Spread some freshly-grated Parmesan. Arrange eggplant slices.


Bake! (On 450 until crust is golden brown or slightly charred)


Serve! (Preferably with a nice glass of red wine... maybe a side salad... but wine is key).